Categories Flooring, Painting

Top Benefits of Epoxy Flooring for Homes

Epoxy flooring provides an exceptionally durable, seamless, and low-maintenance surface ideal for residential, commercial, and industrial settings. Top benefits include superior resistance to heavy traffic, chemicals, and moisture, alongside enhanced safety through slip-resistant options, a high-gloss, hygienic finish, and long-lasting, cost-effective protection for concrete surfaces.

Here are the top benefits of epoxy flooring:

Extreme Durability and Strength: Epoxy creates a rigid, high-strength material upon curing, capable of withstanding heavy vehicle traffic, machinery, and dropped tools.

Low Maintenance and Easy Cleaning: The seamless surface prevents dirt, dust, and allergens from getting trapped. It is non-porous, making it easy to sweep or mop, and resists staining from oils and chemicals.

Cost-Effective Longevity: It is a durable, long-term solution that protects existing concrete from cracking or crumbling, lasting for many years without needing frequent resurfacing.

Chemical and Water Resistance: Ideal for garages and warehouses, epoxy flooring resists damage from harsh chemicals, oils, and liquids.
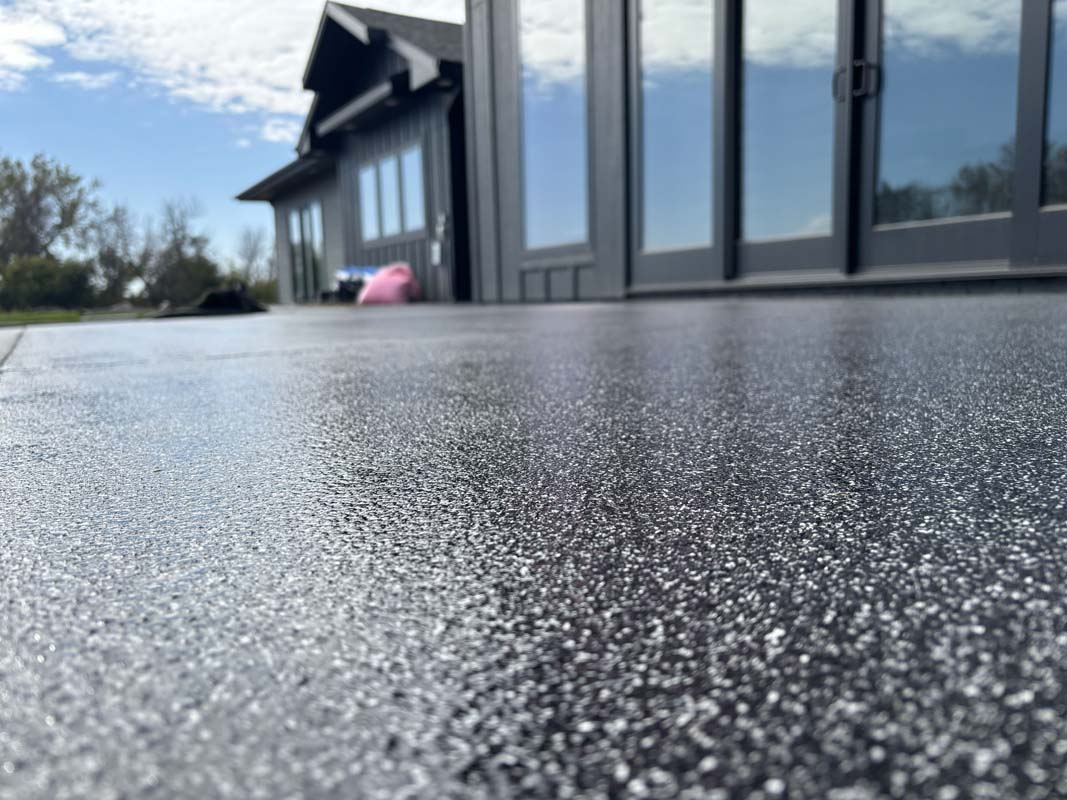
Improved Safety: Epoxy coatings can include anti-slip additives to enhance traction. The glossy finish also improves visibility in garages or factories by reflecting light.

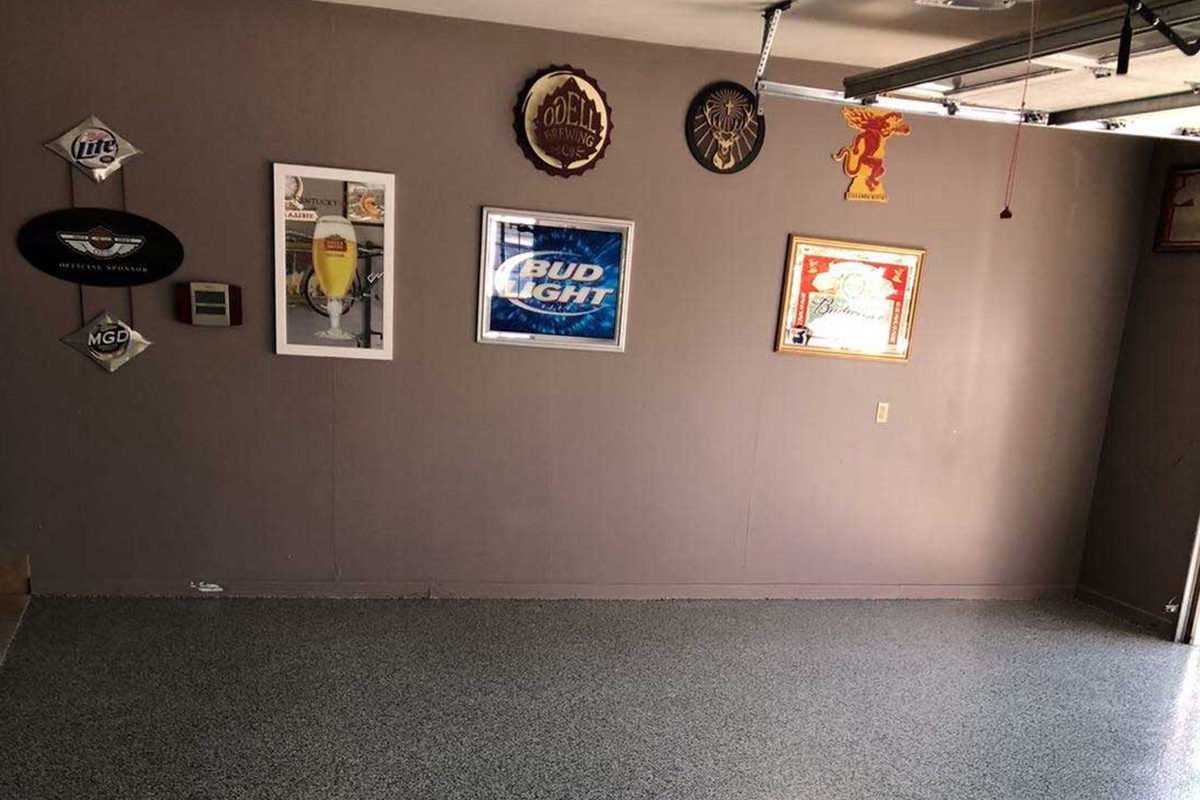
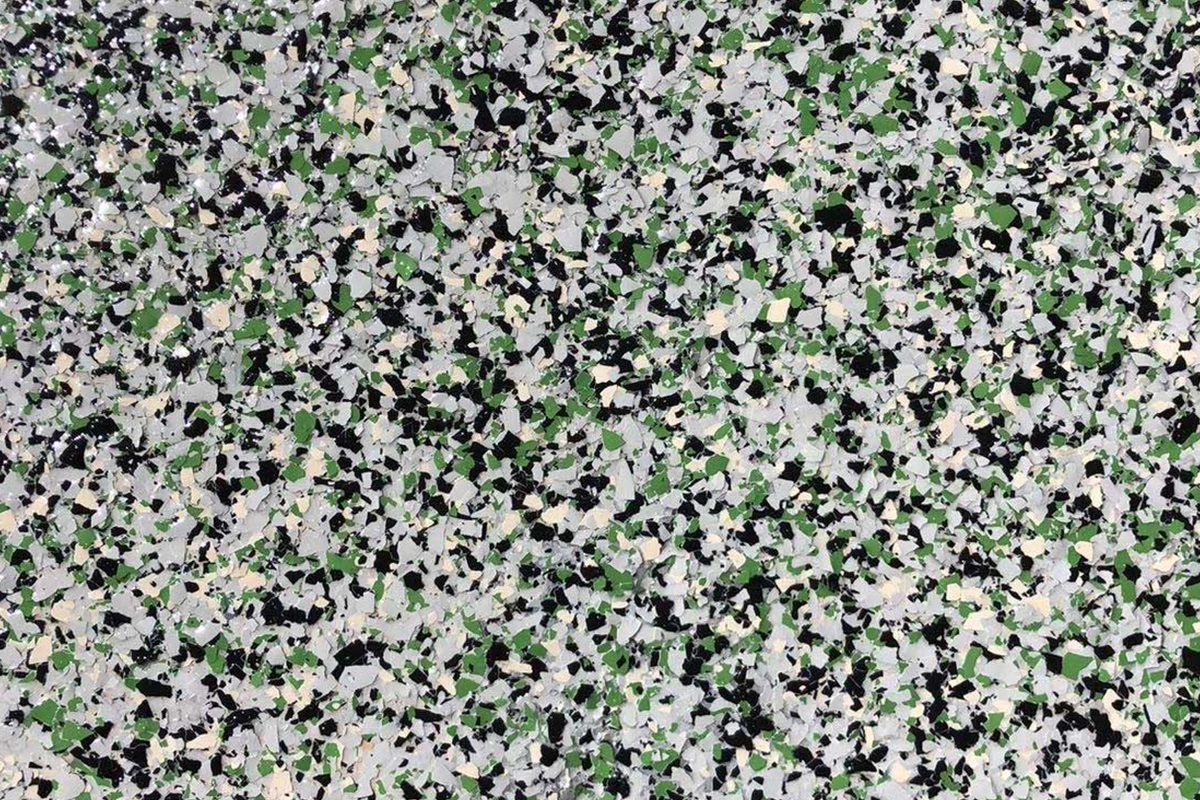
Aesthetic Versatility: Available in various colors, textures, and designs—including metallic or flake finishes—it can transform plain, gray concrete into a polished, customized, and high-end surface.

Seamless and Hygienic: Without grout lines or seams, it is a sanitary, liquid-tight, and mold-resistant option suitable for kitchens, hospitals, and industrial settings.

Epoxy coatings can be applied over new or old concrete, making them a versatile choice for both new construction and renovation


Categories Home Maintenance, Plumber

How Long Does Epoxy Flooring Really Last?

Professionally installed epoxy flooring typically lasts 10 to 20+ years in residential settings and 5-10 years in high-traffic commercial or industrial environments. Lifespan depends heavily on preparation, material quality, and maintenance, with proper care potentially extending residential floors to 20–30 years.

 
Key Lifespan Factors:
    • Residential (Garages/Basements): 15–20+ years due to lower traffic and wear.
    • Commercial/Industrial: 5–10 years (or more with high-quality, thick, or polyaspartic coatings).
    • Installation:  Poor concrete surface preparation is the primary cause of early failure.
  • Maintenance: Regular cleaning (sweeping/mopping) and avoiding harsh chemicals extend the life.
  • UV Exposure: Direct sunlight can cause yellowing and degradation over time.

Categories Carpentry, Home Maintenance

Step-by-Step Guide to Epoxy Floor Installation

Phase 1: Preparation (The Most Critical Step)

Skipping these steps often leads to peeling or bubbling later.
  1. Test for Moisture: Tape a 2-foot square of plastic sheeting to the floor for 24–48 hours. If water droplets form underneath, the concrete is too damp for epoxy without a specialized moisture barrier.
  2. Clean & Degrease: Sweep and vacuum thoroughly. Use a heavy-duty degreaser or concrete cleaner to remove oil and grease stains, scrubbing with a stiff brush.
  3. Repair Cracks: Fill any holes or cracks with a concrete patching compound or epoxy filler. Sand these repairs flush once dry.
  4. Profile the Surface: For epoxy to “bite,” the concrete must be rough, like sandpaper.
    • Mechanical Grinding: Professionals prefer diamond grinders for the best adhesion.
    • Acid Etching: A DIY-friendly alternative using a muriatic acid solution to open the concrete’s pores. Warning: Always wear protective gear and rinse thoroughly.
Phase 2: Application
  1. Apply Primer: Use a roller to apply a thin, even epoxy primer coat. This seals the concrete and prevents air bubbles from rising into the main coat.
  2. Mix the Epoxy: Combine the resin (Part A) and hardener (Part B) exactly as directed. Use a drill mixer for 3–5 minutes. Note: Once mixed, you typically have only 45–60 minutes of “pot life” before it hardens.
  3. Apply the Base Coat:
    • Cut in: Use a brush for edges and corners.
    • Roll out: Use a 3/8-inch nap roller to spread the epoxy in “M” or “W” patterns, working from the back of the room toward the exit.
  4. Broadcast Decorative Flakes (Optional): While the base coat is wet, toss decorative flakes upward to let them fall evenly over the surface.
  5. Apply the Topcoat: After the base coat has cured (usually 10–24 hours), apply a clear polyurethane or epoxy topcoat to protect against scratches and UV damage.
 
Phase 3: Curing
  • Foot Traffic: Usually safe after 24 hours.
  • Vehicle Traffic: Wait at least 72 hours to 7 days before driving on the surface to prevent “hot tire pick-up” where tires peel the epoxy off.